e46 m3 SMG Gear Position Sensor DIY
May 5, 2015 23:41:36 GMT -5
karmen, texaslonghorn06, and 2 more like this
Post by s54smg2 on May 5, 2015 23:41:36 GMT -5
e46 m3 diy
 Gear Position Sensor
Not Yet Complete: *
Commonly referred to as the smg Gear Position Switch (GPS), labeled a Gear Identification Switch (GIS) at U.S BMW dealers
2005 M3 SMG2 106k miles.
No issues with SMG in the past other than needing to top fluid level after turkey basting from the reservoir. I have done this once a year for the past 8 years.
First issue was just weeks ago and I assumed it was a salmon relay although replacing it did not seem to solve the issue, it did get me home. I even drove it with no problems for another couple hundred miles.
When it gave me a problem the car lost all function while still at idle RPM driving down the road, pedal was dead with no function and 2nd gear just blinked and would not engage as it should. Prior to that I was noticing odd behavior when selecting gears.
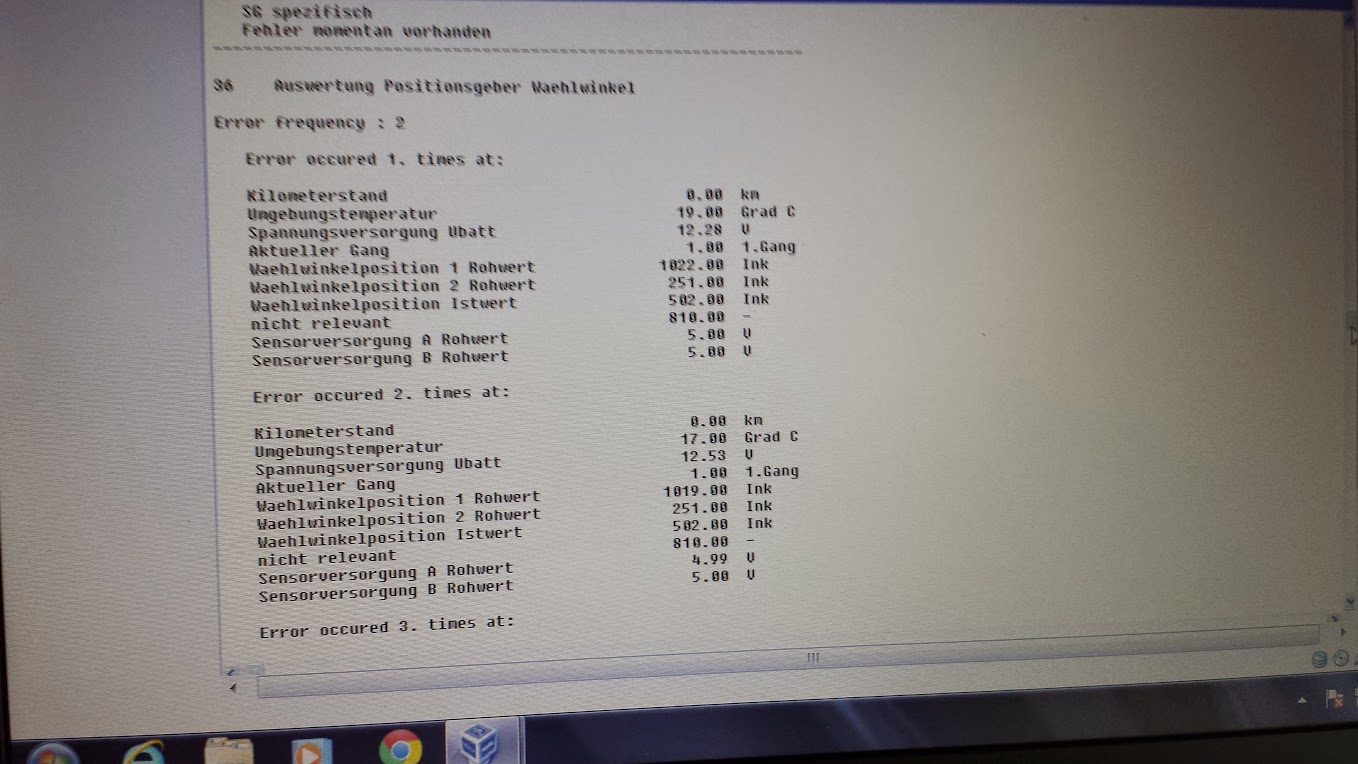
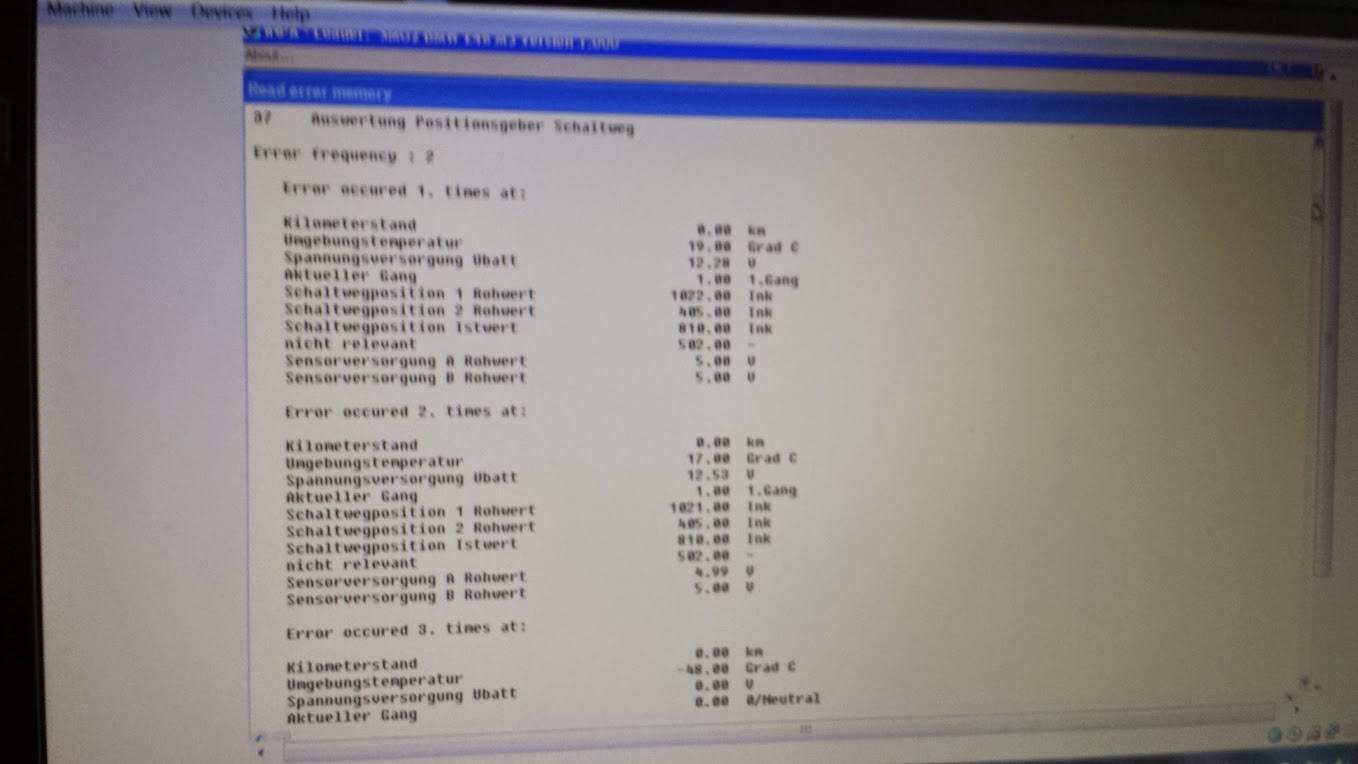
Shame on me for using a generic code reader and not checking with INPA/DIS at that time. When the car failed again it was similar with 2nd gear being lost and searching for a place to be with no such place found once again, although this time when I got the COG light I looked it up to find codes 36 & 37 indicating a fault with the gear identification/position switch.
I replaced the gear identification switch and will share this diy. I hope in doing so I can ease others minds when faced with this problem with some detailed information.
THIS DIY IS NOT AS DIFFICULT AS IT HAS BEEN MADE OUT TO BE IN THE PAST...just need the right tools and you're good to go. Is it fun? well. .. it did fix my car and I learned a couple new things so Ill say yes, you might disagree
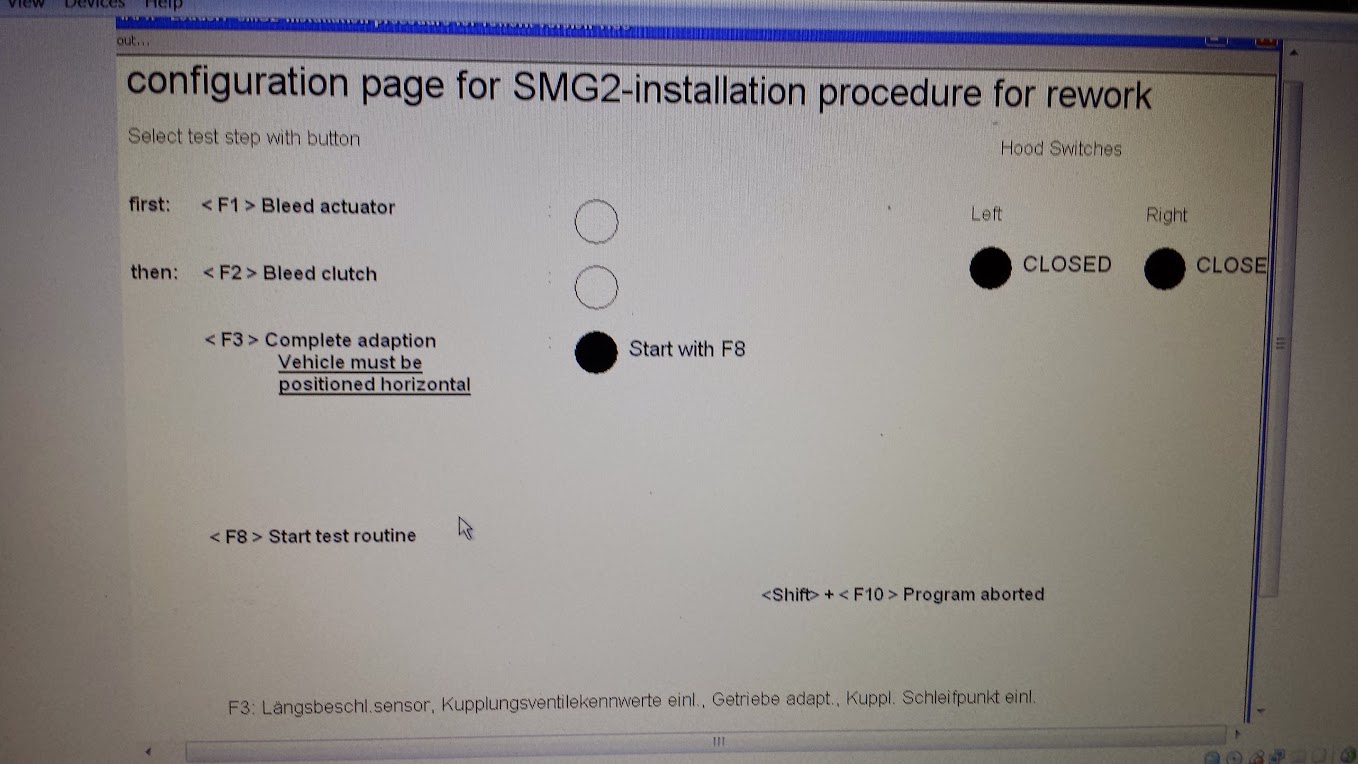
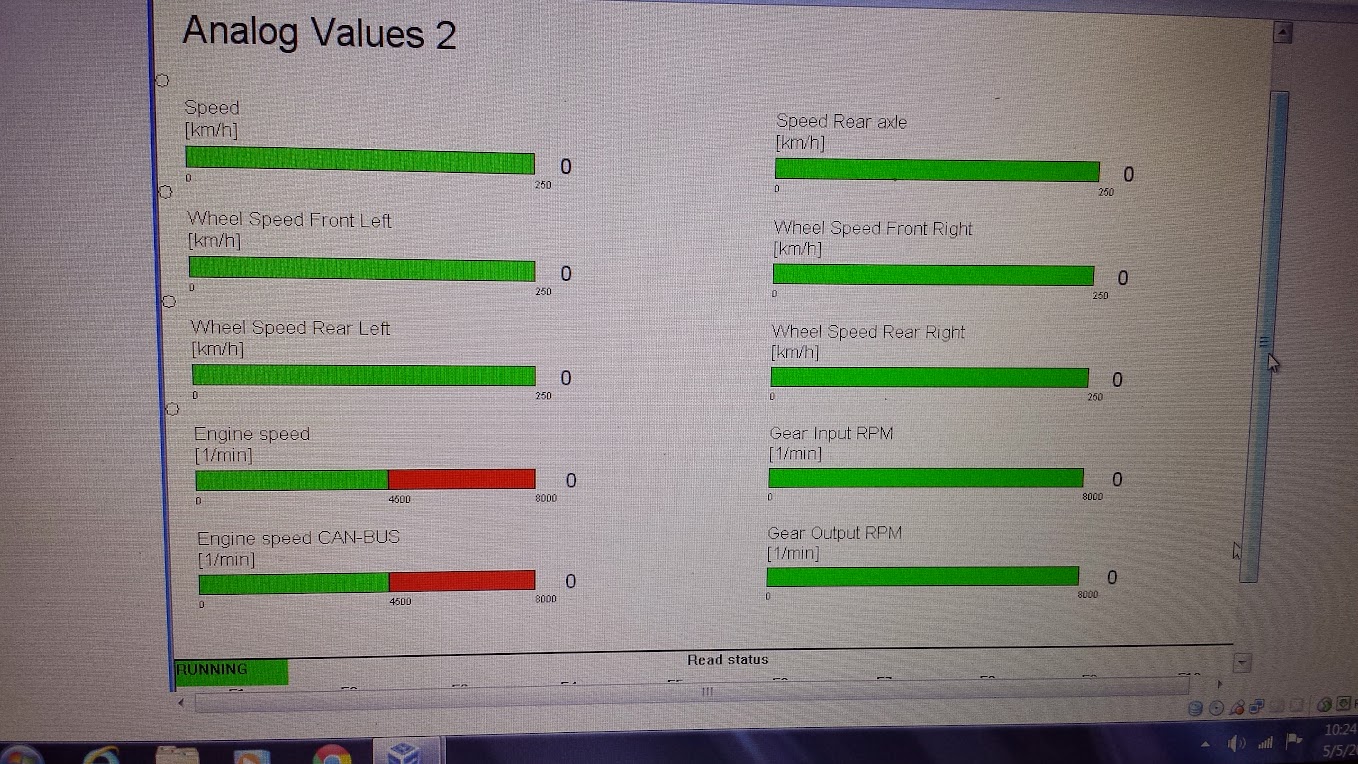
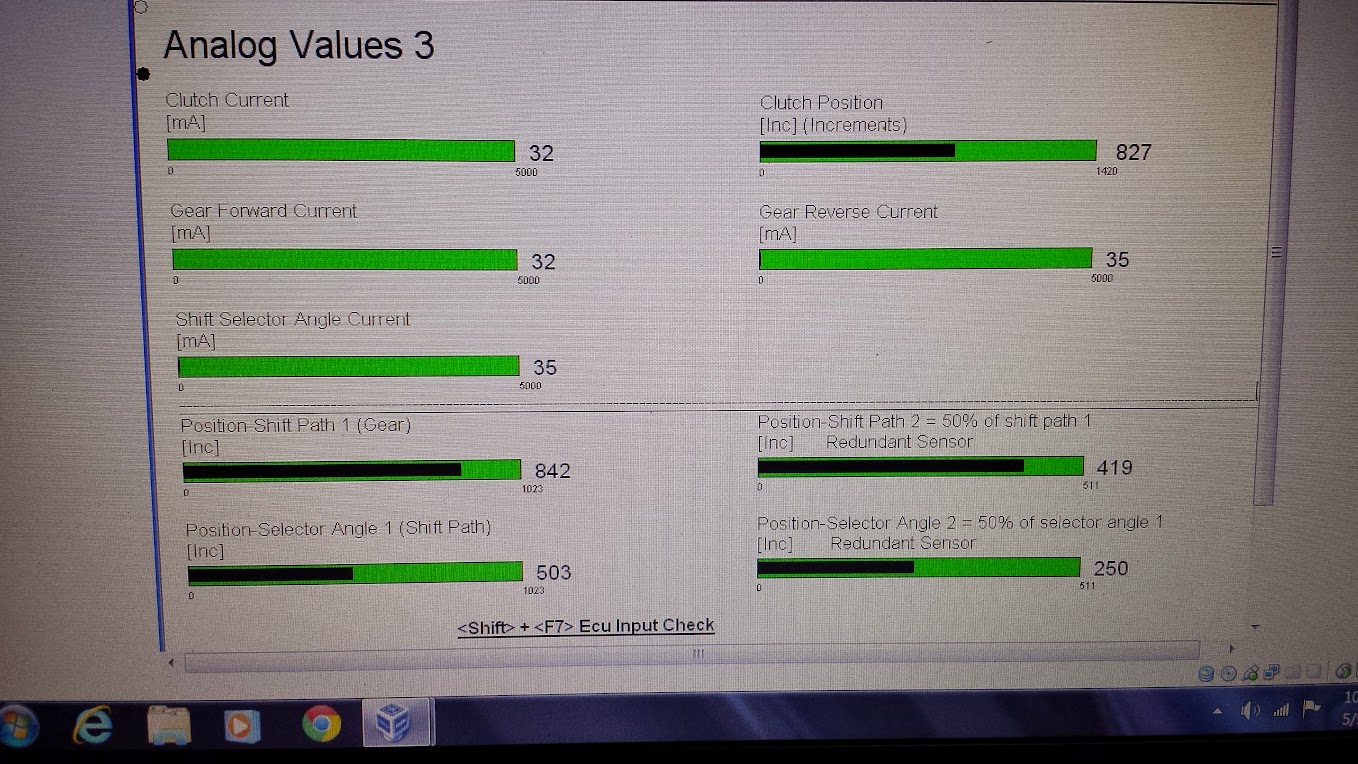
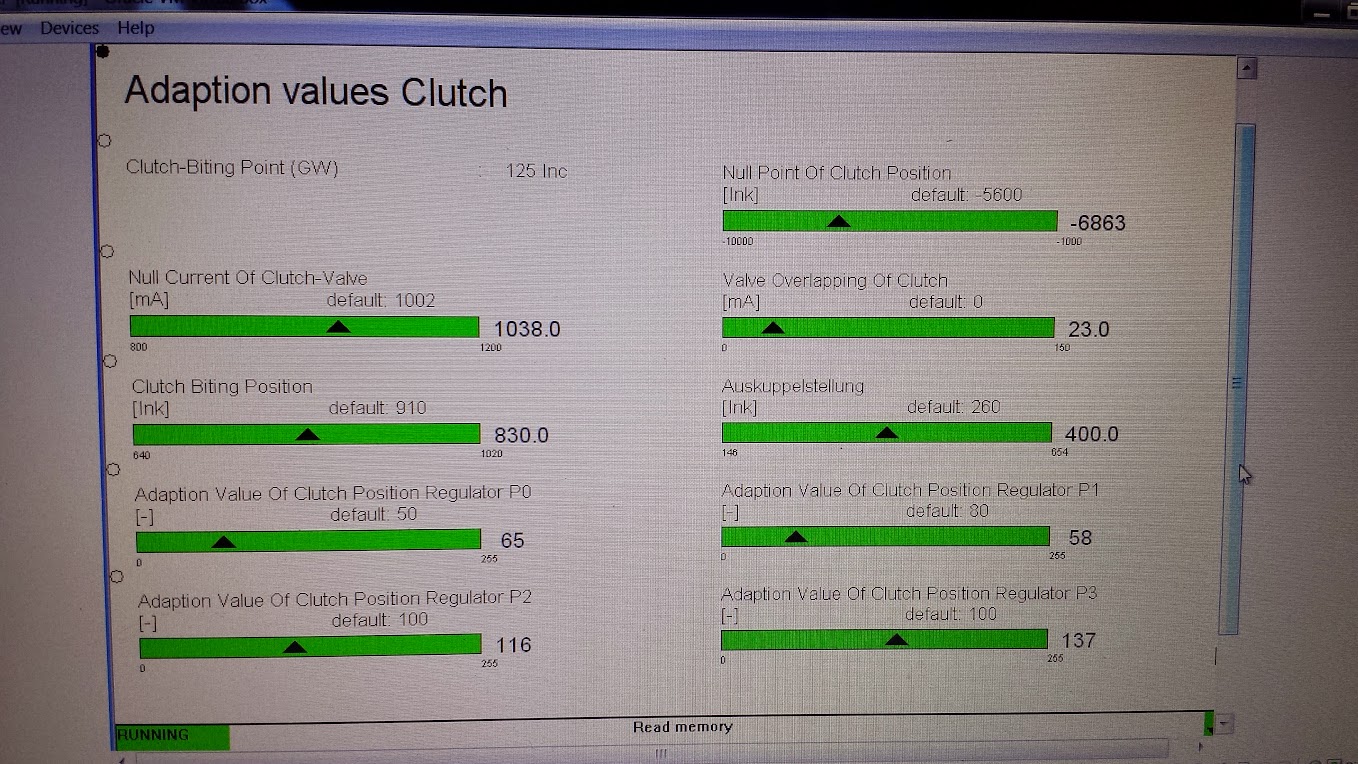
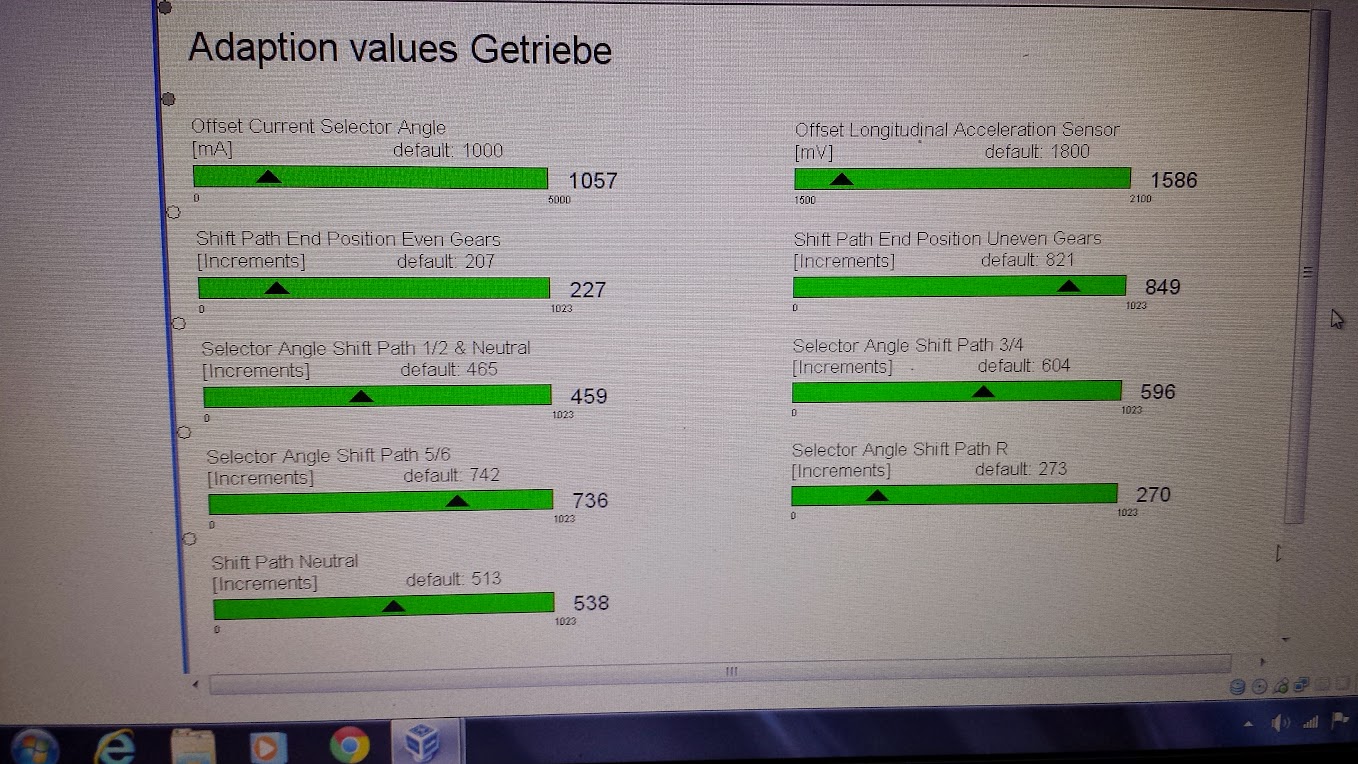
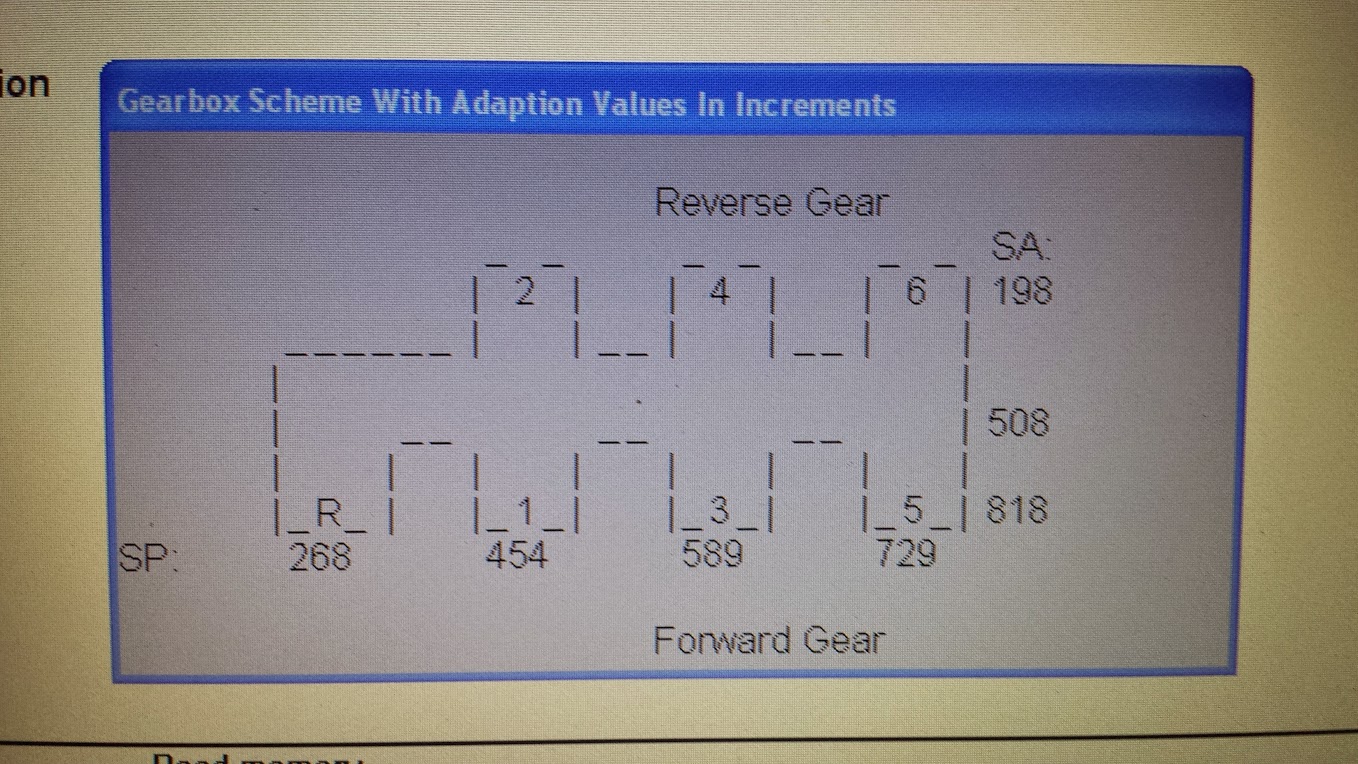
*When this job is complete you MUST perform SMG adaptations via INPA or DIS/GT1.
If you are missing 2,4,6 gear when completing the job it is because you have not reset transmission adaptations! No worries, it will function properly after this is completed.
Parts and Tools:
Getting Started:
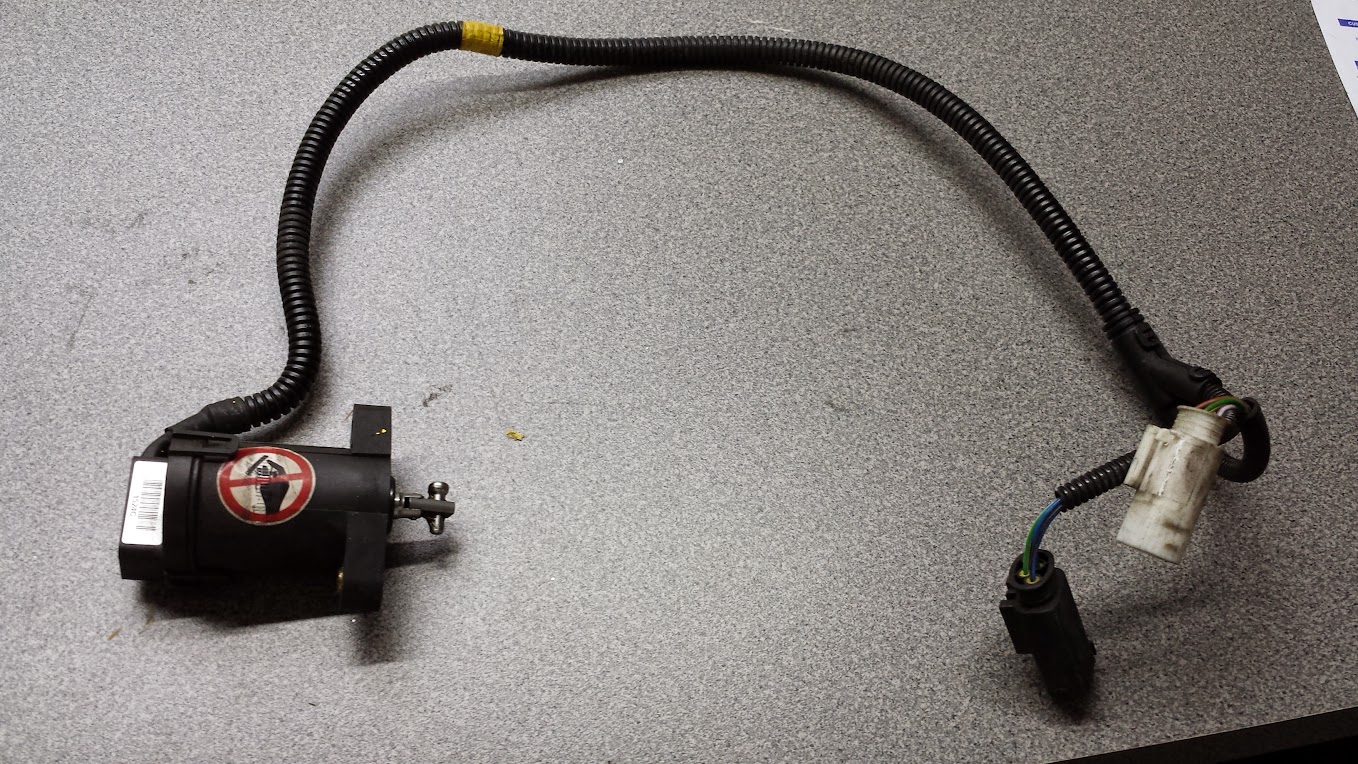
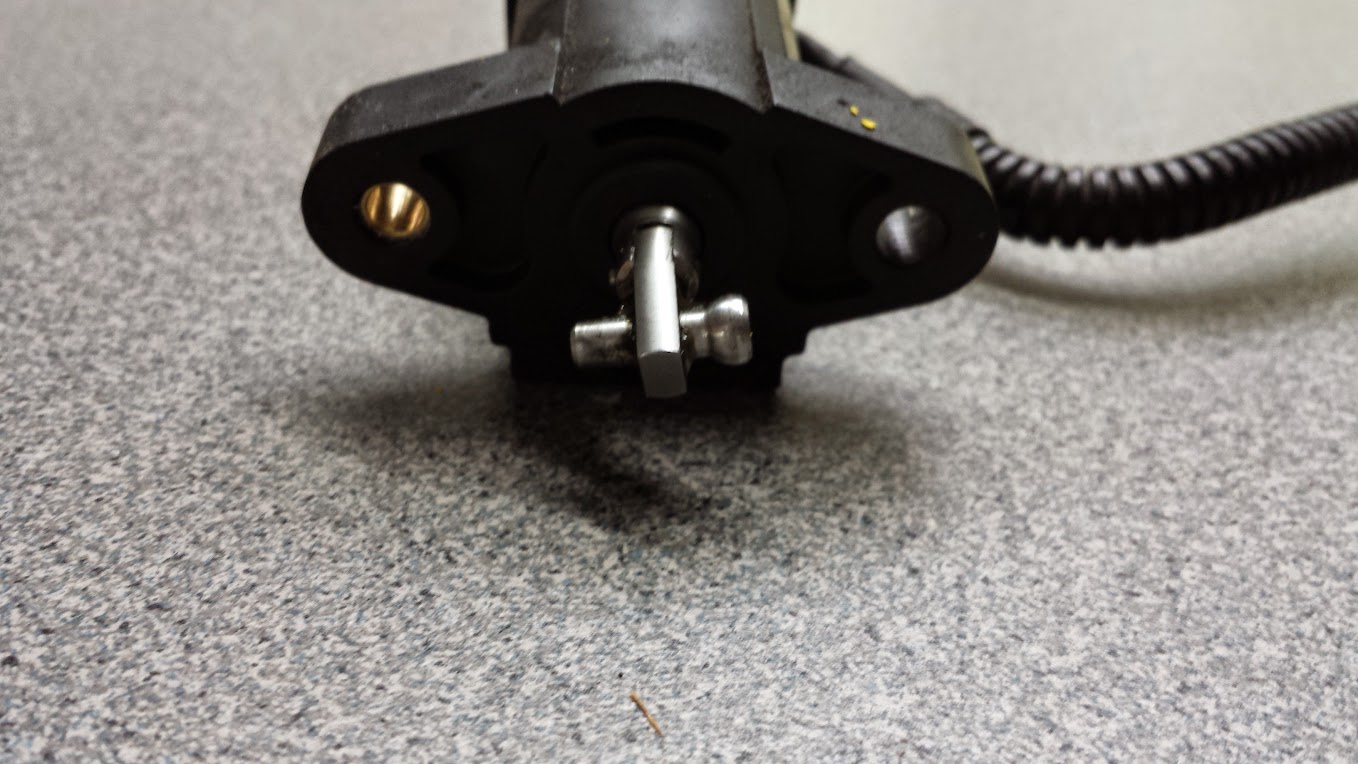
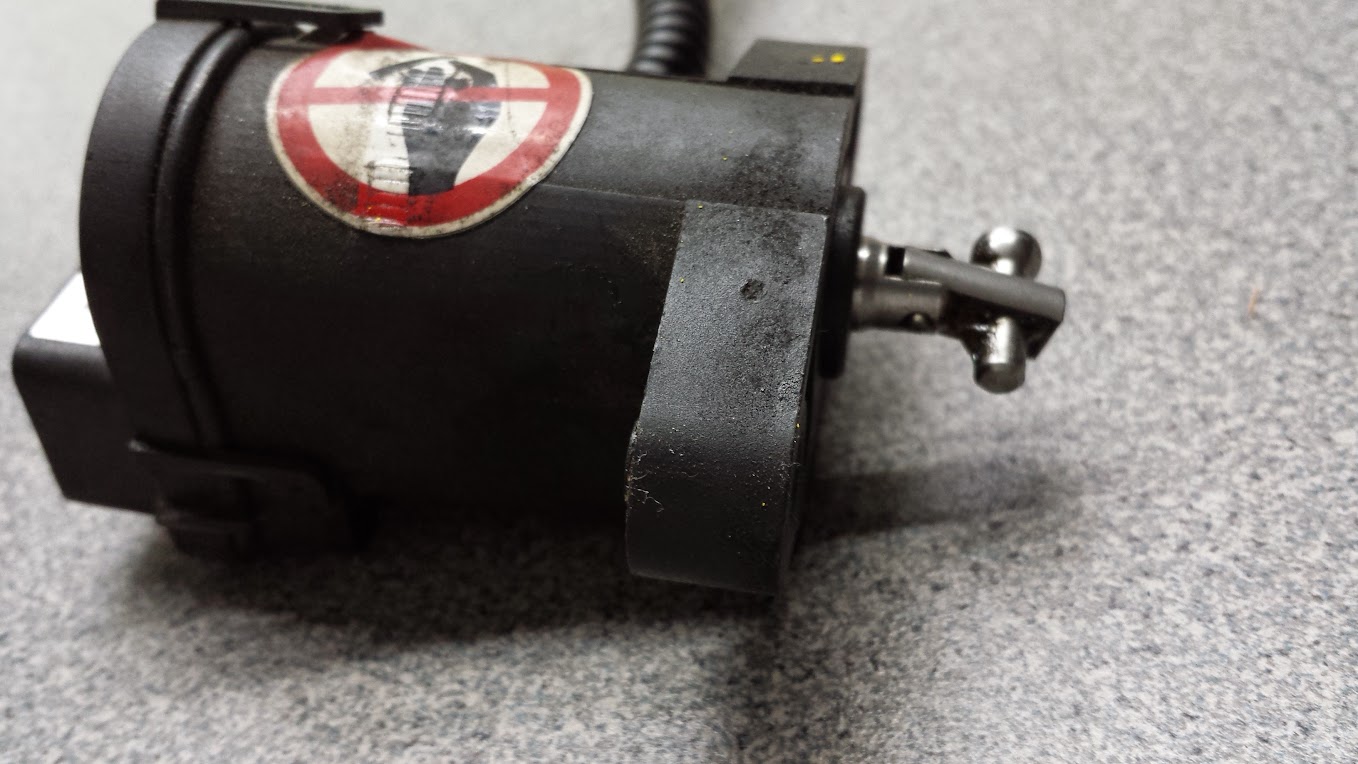
Here is the identification switch removed


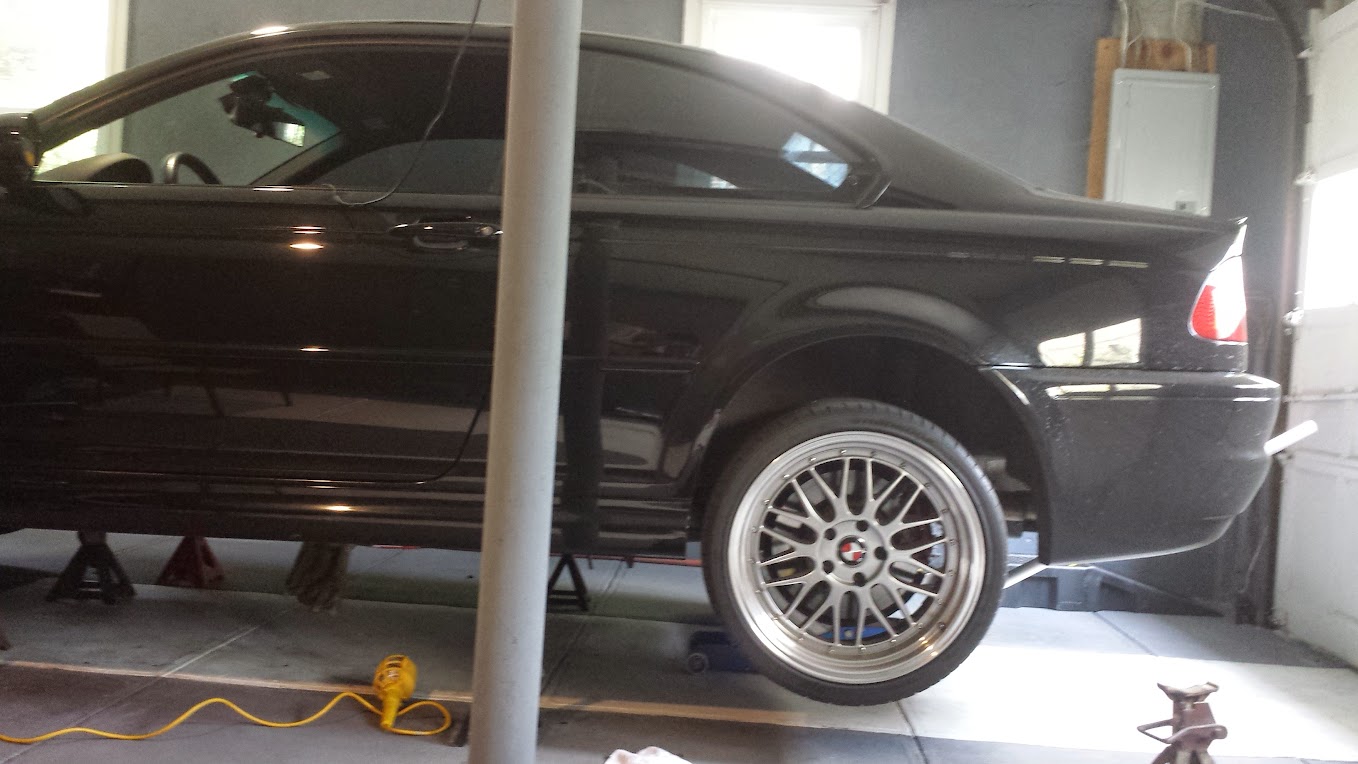
Rear wheels must be off the ground to remove the drive-shaft.



Not Yet Complete: *
Commonly referred to as the smg Gear Position Switch (GPS), labeled a Gear Identification Switch (GIS) at U.S BMW dealers
2005 M3 SMG2 106k miles.
No issues with SMG in the past other than needing to top fluid level after turkey basting from the reservoir. I have done this once a year for the past 8 years.
First issue was just weeks ago and I assumed it was a salmon relay although replacing it did not seem to solve the issue, it did get me home. I even drove it with no problems for another couple hundred miles.
When it gave me a problem the car lost all function while still at idle RPM driving down the road, pedal was dead with no function and 2nd gear just blinked and would not engage as it should. Prior to that I was noticing odd behavior when selecting gears.
Shame on me for using a generic code reader and not checking with INPA/DIS at that time. When the car failed again it was similar with 2nd gear being lost and searching for a place to be with no such place found once again, although this time when I got the COG light I looked it up to find codes 36 & 37 indicating a fault with the gear identification/position switch.
I replaced the gear identification switch and will share this diy. I hope in doing so I can ease others minds when faced with this problem with some detailed information.
THIS DIY IS NOT AS DIFFICULT AS IT HAS BEEN MADE OUT TO BE IN THE PAST...just need the right tools and you're good to go. Is it fun? well. .. it did fix my car and I learned a couple new things so Ill say yes, you might disagree

*When this job is complete you MUST perform SMG adaptations via INPA or DIS/GT1.
If you are missing 2,4,6 gear when completing the job it is because you have not reset transmission adaptations! No worries, it will function properly after this is completed.
Parts and Tools:
- Gear identification switch - BMW Part #23 41 2 229 792
- phillips head screwdriver
- 8,10,12,13,14,18mm wrench or /socket/ratchet-driver (whatever works best for you)
- 4mm allen wrench
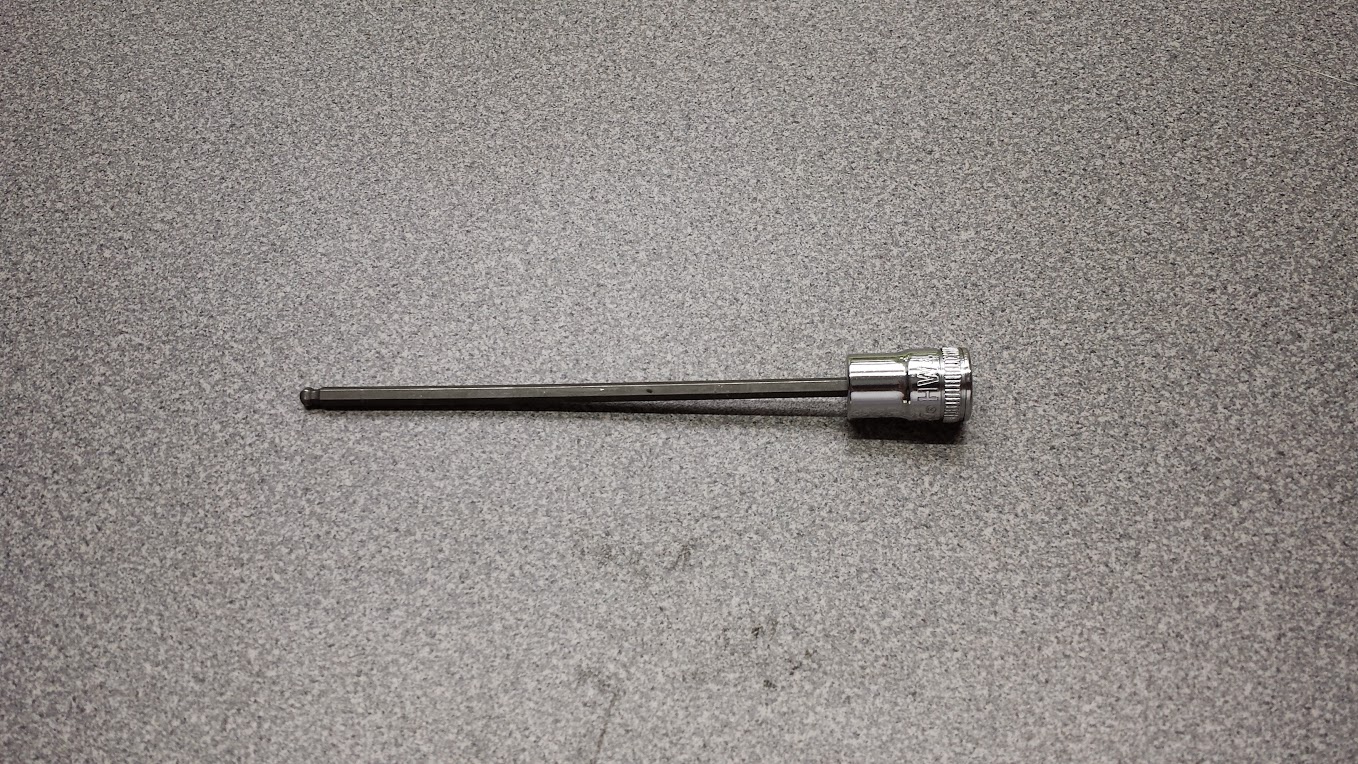
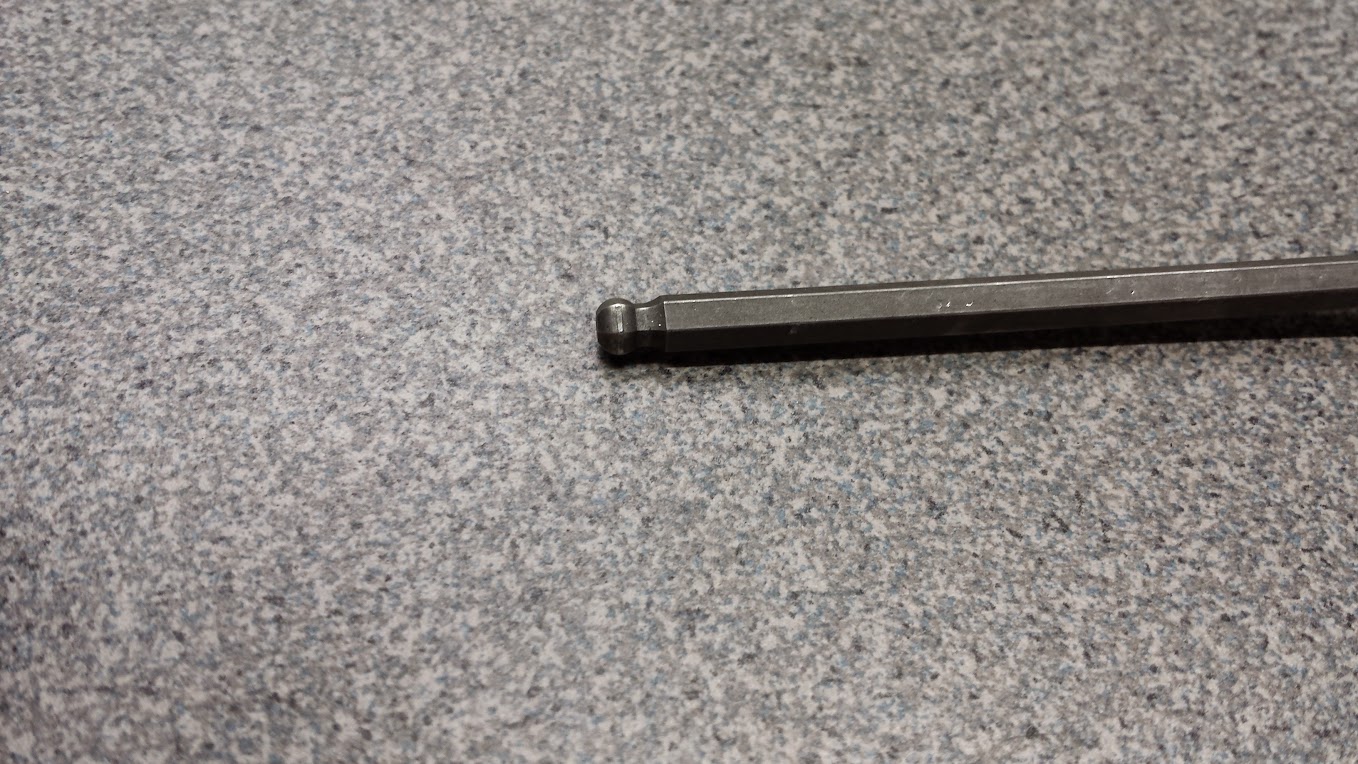
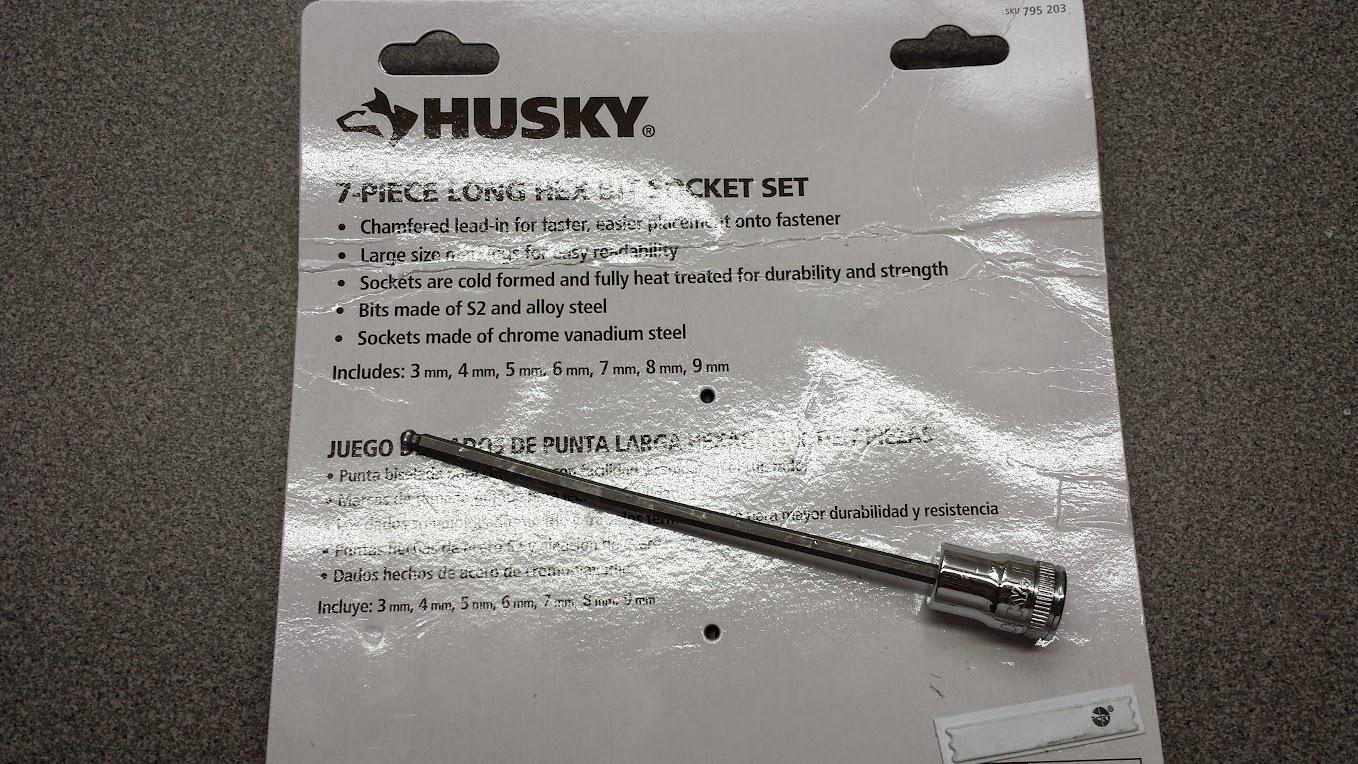
- 4mm extended length allen socket (pictured below)
- flex head ratchet (pictured below)
- loctite
- jack-stands
- INPA/DIS/GT1 (smg adaptations MUST be performed after installing new switch)
Getting Started:
- Confirm you have existing codes 36 & 37
- Jack the car onto jack-stands
- Remove section 1 & section 2 exhaust
- Remove exhaust heat shields (silver material above exhaust)
- Lower drive-shaft
- Replace identification switch
- Run SMG adaptations (this is not a paddle "soft reset")


Here is the identification switch removed


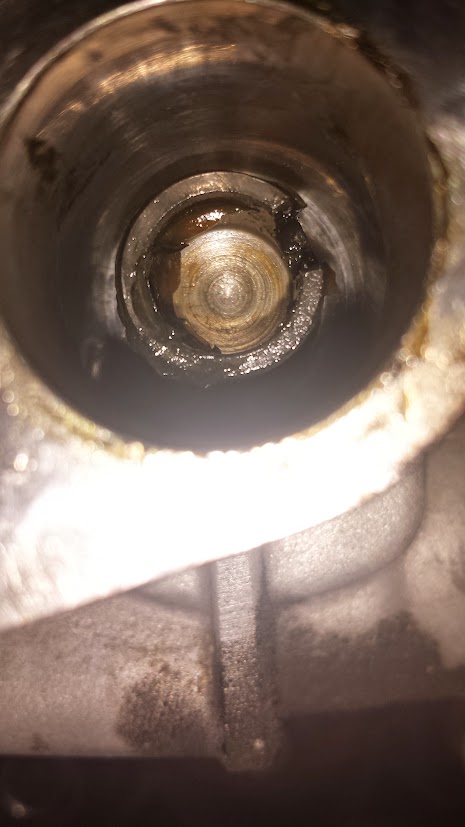
- Below is a picture of where the switch connects
- On the left there is a hole for the switch's rounded edge/ on the right the the rod sits into place
- Insert with the switch at a slight angle until you feed the rounded edge set into place
- You can move the switch slightly in and out to ensure it's properly in place before you tighten it down.
- *you will not just insert and feel it snap into place as i have read. That would be guessing, and this is not a time for guessing.


Rear wheels must be off the ground to remove the drive-shaft.

- Remove the drive-shaft.
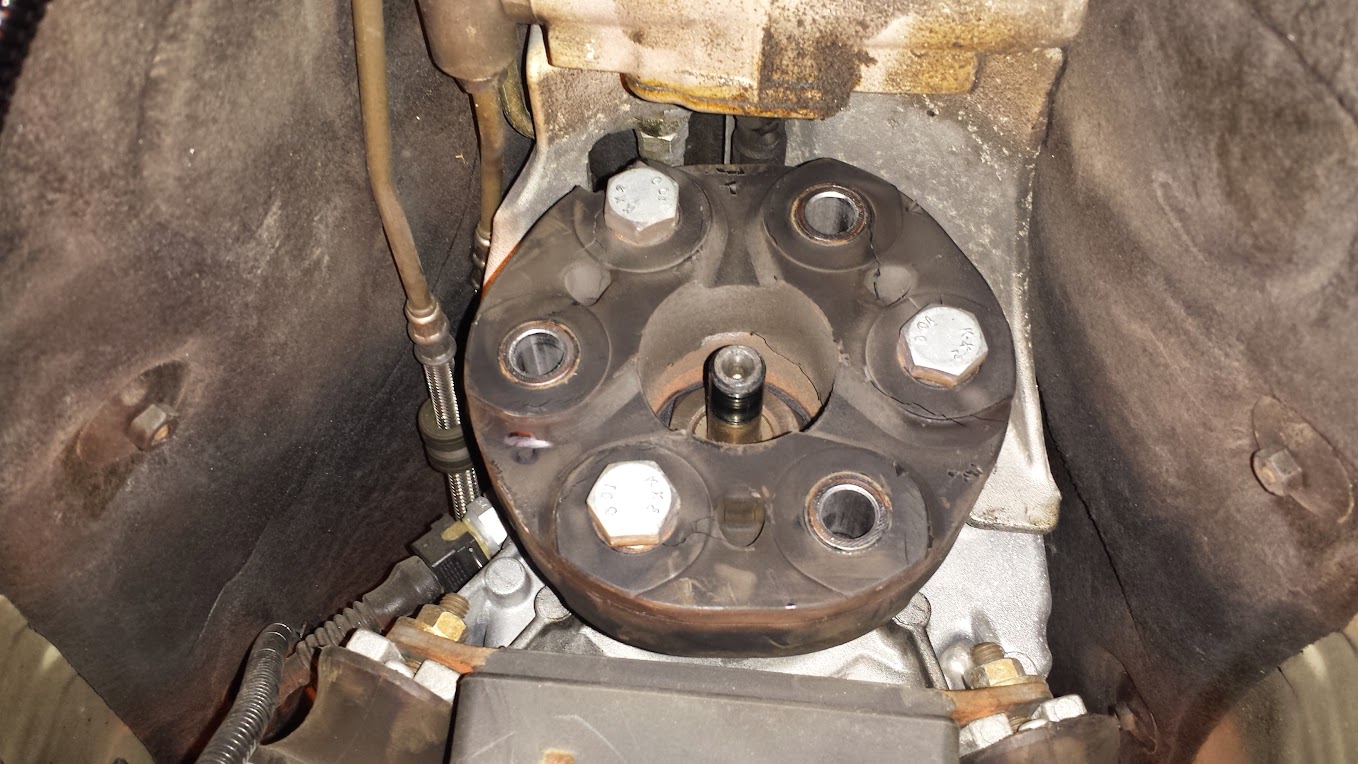
- Have your rear wheels off the ground and car in neutral. Spin the drive-shaft into position to access the each bolts and pull the e-brake to remove the bolt.
- Use your wrench on the bolt behind the guibo and a socket driver out front
- Torque spec for the guibo bolts is 74ft lbs.
- I marked the guibo and bolts 1 & 2 for peace of mind when I re-installed.
- Remove 3 bolts holding the drive-shaft
- Remove the 2 center support bearing bolts
- The drive shaft can now be lowered out of the way.
- Replace Guibo/ Center support bearing/ and any other parts you might wish to do at this time

- You now have access to the identification switch
- Space is limited, be patient
- Below you will see pictures of a tool I recommend you picking up. It does not fit perfect but saved tons of time and ensures you don't strip the 4mm bolt-head.
- First use a hand-held 4mm allen to crack the passenger side (right) bolt first. I had to use the hand-held allen backwards using a pair of small pliers to turn the handle.
- After it is cracked free remove the driver side (left) allen completely.
- Yo can now carefully and without breaking anything, turn the sensor upward toward the roof of the car on the left side where you just removed the bolt. It only moves a small bit, but this is needed.
- Now you can use the 4mm extended length socket driver to remove the remaining bolt. This is still tricky. I also used a flex head socket driver making it easier to spin out. Limited space is the issue
- The extended 4mm does not slide right into the bolt. You will need to get it into position by letting the tool slightly, and without too much pressure rest against the sensor as you remove the bolt.
- When done this way with caution, you will not damage the new or old sensor in any way.
- Do not forget to use loctite when re-installing the 4mm bolts. This is a moving part and it is necessary to ensure the bolts dont back out over time.
- * I will be taking better pics in the near future and the DIY will be more detailed. As i am building another e46 M3 DIY based website currently it will likely be correct when added to the new site.


