Vince Brace - Rear Floor Reinforcement Install Guide
Apr 8, 2018 18:43:50 GMT -5
badwax and kickboxer like this
Post by s54smg2 on Apr 8, 2018 18:43:50 GMT -5
To forum members and users:
I am creating this as a quick reference guide for my installer.
Toolkit with drill bit, drill guide, tap and custom made bolts are all included
1. From underneath the car drill up through the existing rear sub-frame mounts using the 10mm drill bit - tap thread from the bottom up to follow existing thread
2. Tap the hole and grind surrounding area flat. Additional picture shows 90 degree BRACE mount
From the product creator:
I threaded the new part of the holes with a M12x1,5 (this is a bit finer pitched than the standard M12x1,75) tap (EDIT: taping the new part of the holes is probably overkill. You should be fine simply enlarging that new part of the hole by drilling a 12mm clearance hole from the top. It would be a good idea to insert the OE bolt as a "drill stop" such that you won't unintentionally drill out the existing thread)."
3. "Please note that the plates are welded to the chassis legs though plug welds in the holes, AS WELL AS with a continuous fillet weld around all of the perimeter that the plate has against the chassis leg."
This first picture here shows the BRACE in position, although it is the rivet/epoxy version shown NOT the welded version I have, which is why you see differences including and extra plate under the bar.
4. Proper Coating and sealer to prevent rust/corrosion
5. Circle hole cut into rear floor cover to access bolts in the future.
You can see here below how others cut this cover off. Because we are replacing the entire floor it will not need to be cut off as seen above and below. We will only need access holes.
FRONT Mounts (cups)
6. Remove small brace from interior of car.
Here is how I carried out this reinforcement :
Drilled a 10 mm hole from the underside of the car (sub-frame removed). This takes us through the top of the threaded receiver, and finally through the "floor pan" behind the rear seat.
Perfectly centered by the ID of the threaded receivers M12 thread.
7. Using supplied tools (51mm whole saw, drill guide) you will have a guide to drill the sheet metal perfectly as follows
*"The threaded hole in the middle is part of my procedure (drilled diameter 10 mm from under the car and then threaded M12x1,5 from bottom up to match existing thread) and is not there originally.
8. Tap Holes
Prepare for welding
9. Weld cups
Additional info not related to the brace.
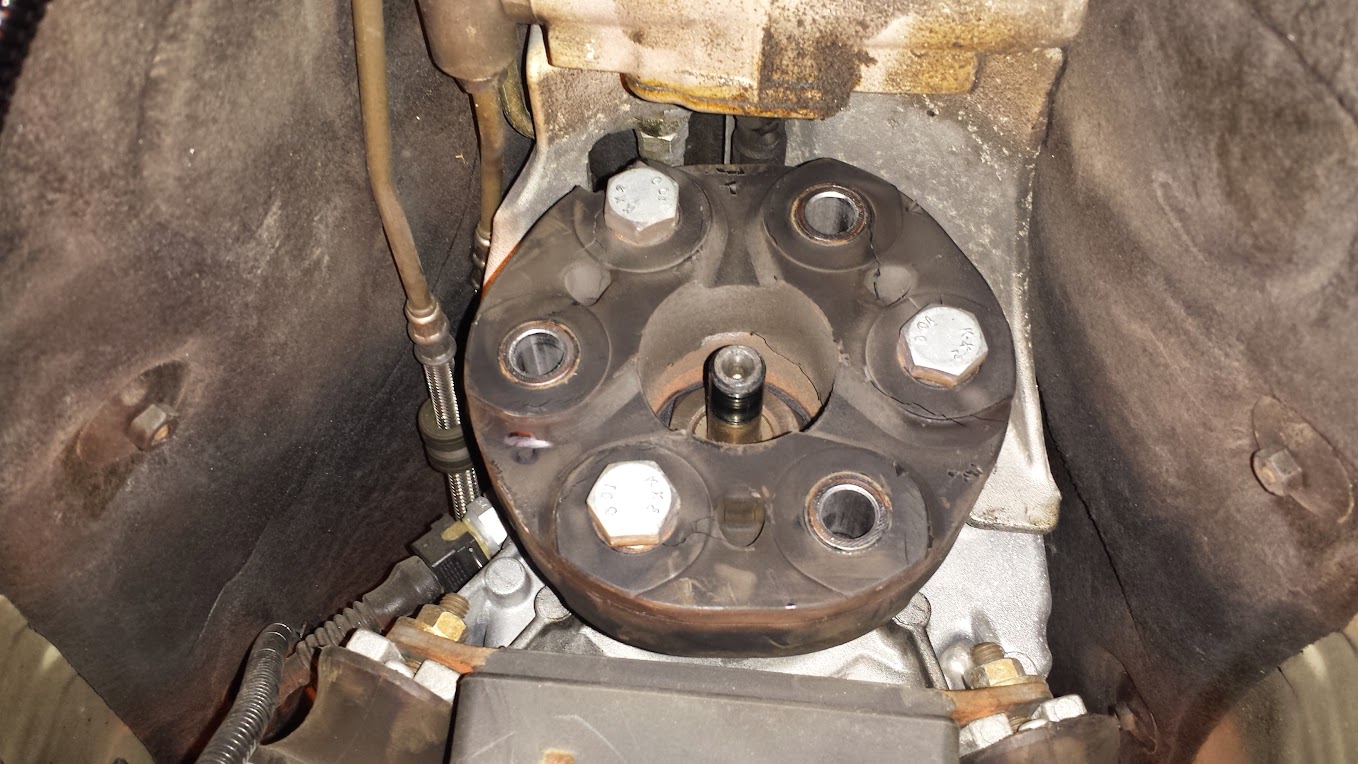
Torque Spec for Guibo bolts is 74ft lbs

